OK ... "instructions" is a stretch! What you have here are some photos and some tips. If you have further questions please don't hesitate to call me at 651/484-4613 while you're working!
Here's the last batch of Mission Possible cards ... birthdays. Make sure to read any tips you see under the photo.
 |
| The buttons and bling in your kit will vary in color. |
 |
| Your card does not have the Happy Birthday stamp. You can add it from your own stamp collection. |
 |
| Use the brads to attach the stars to the burlap ribbon before you add it to the card. The whitish effect comes from sanding the embossed paper. You can use a nail file if you don't have a sanding block. |
 |
| MAJOR difference ... your card kit includes an outdoor denim square that's 1/4 inch less than the one shown here. SOOOOO you will attach yours so that there will be a white border around the top part of it. Make sure that you only put adhesive where it goes!! The bottom half of this has to be free of adhesive. |
 |
| self adhesive springs!! |
Here are the layouts made with Ivy Lane ...
If you haven't put together your Huntington projects yet … here you go. Get busy on the cards. You can use them for Thanksgiving.
 |
| For the ribbon just twist and adhere to the back of your stamped piece. |
 |
| Crumple leaves for interest. I've even seen them run through an embosser if you have on of those. |
 |
| The colors on your base card are different than this. I liked that better after making the prototype. Make sure to put your twine under the paper before you glue it down. Look below to see how everything goes together. |
 |
| Use sponges and sever ink colors to create a beautiful background on the Goldrush paper. AND there's a whole lot of sanding!! If you can't see the details. There's shimmer trim inside of the fall leaves. |
 |
| Separate your burlap ribbon into strips and just tie them in knots to add to the banner. To make the banner pieces you attach the stickers to the cocoa paper before you cut them out with a scissors. |
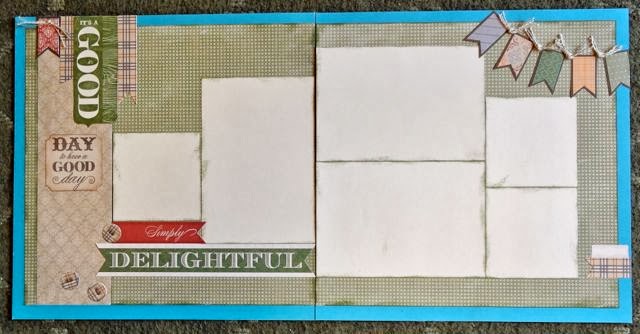
The For Always projects look like this ...
 |
| EZ ... don't you just love it when you can look at a photo to figure something out? The saying does have foam tape behind it. That might not be so obvious. |
 |
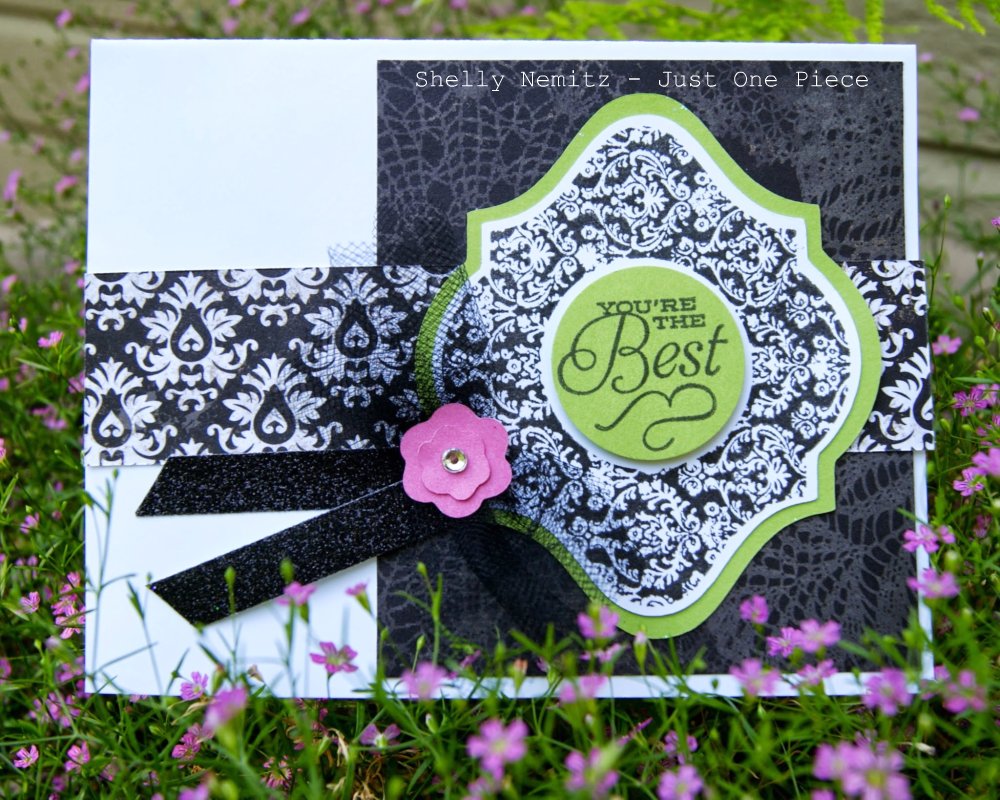
There are no tricks here either.
The tulle is held down with liquid glass or a liquid glue. Glue dots and tombow do not seem up to the task.
The center circle is popped. |
 |
| The outside edges of this are inked in buttercup. |
 |
| So easy ... There's shimmer trim just about the saying on the right. That's hard to see in the photo. |
 |
Start at the bottom of this layout and work your way up. Your zip strip may not match the one in the photo.
All of the outside edges of this layout are inked in cotton candy.
The black strip across to top is the shimmer trim (which doesn't show up well in photos)
This layout has several of the pieces inked with a sponge. The colors are pear and cotton candy. If you don't have those please contact me to arrange a loan or a purchase. |
Here are the Tommy projects. There are a few tips if they're important, otherwise assembling these is pretty much a matter of looking at the pictures.
 |
| YES ... you have to cut out the yellow pinwheel with a scissors. If you close your brad loosely you'll be able to spin the top two pinwheels. The edges of these pieces are inked in red ... Cranberry to be exact. This is not done for you. |
 |
| No secrets!! |
 |
| The "rope" or "chain" ... however you see it has to be cut into two pieces to fit across the whole card. You will also need to cut out the "together" which you see in red. |
 |
| You will have to cut out the yellow pinwheel. It's in a little package in your kit along with the flags in case you don't see it. (someone had to tell me that at the workshop because I forgot where I put it - haha!!!) |
 |
| No Tricks ... so easy it's scary!! I would use the flip flaps on this layout because there are several 4x6 photo spots. |
Did you run into any Tommy questions??? Contact me at the phone number just below.
~~~~~~~~~~~~~~~~~~~~~~~~~~~~~~~~~~
Below you'll find the Buzz and Bumble projects. There are no detailed instructions, just tips for assembly here and there below each picture.
If you have any questions please contact me at 651-484-4613.
 |
| You'll need to separate the strands of fiber in the burlap ribbon (there will be waste) to tie in the tag. |
 |
| Fold your ribbon to cut even ends ... I adhered mine with glue dots. |
 |
| This ribbon is just a knot. This whole card is so much easier than it might look. |
 |
| Look closely and lay all of your paper pieces out before you get out your adhesive. To add the rub ons cut out the letter individually. AND a common tip is to start at the end of a line and toward the edge of a page. So for instance you'd rub on the letter d first and go backwards from there. |
 |
| No secrets ... none!! |
Here are the Later Skr cards and layouts. If there are any special tips they're written under the photo.
 |
| Pop dots are used on the balloon to the right and a basic blue gel pen is used to draw the "ropes". |
 |
| Cut out lagoon sentiment for bottom right hand corner and mount on top of blue. Cut zig zag by hand. Tear navy strips in two unequal pieces and place the smaller one at the top. |
 |
| So easy it's scary :) The words are cut from the zip strip that's included. Once you're finished with this you can get in touch with me for the washi tape (grey polka dots). |
Here are the Chantilly Cards ... They're pretty self explanatory. If there are any special tips they're written under the photo.
 |
| You can adhere these flowers in the strip or cut them apart to make the scrunch up together (which is what I've done here). The pieces of your card aren't sponged with buttercup like the ones on this card. When you attach the butterfly, only put adhesive on the center of the white one, then her wings will "flap". |
 |
| So easy it's scary :) You can flip the design to do a vertical. |
 |
| Put this card together from the bottom up. Some people started at the top and have an extra wide twilight border. I like it hidden under the top piece. |
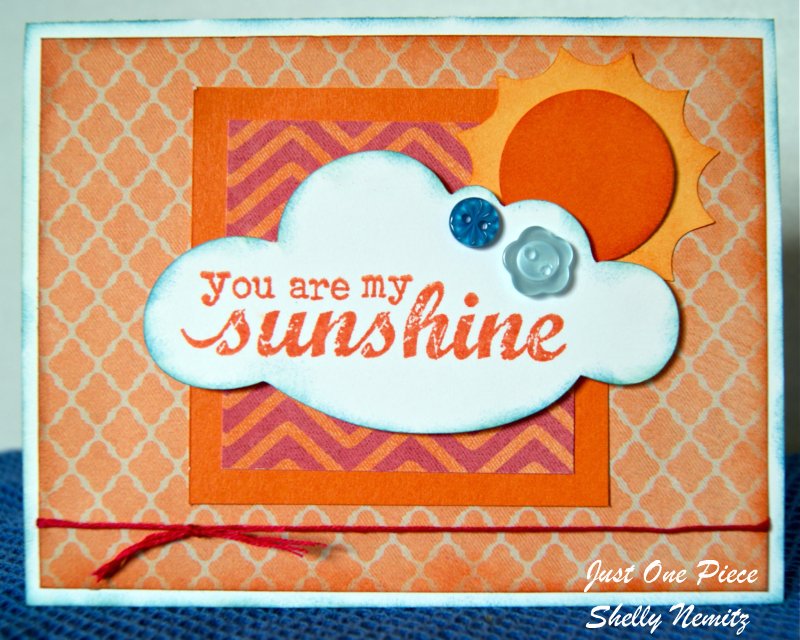
These are the cards made using the Claire paper pack.
What you see is for the most part what you get. The only real tip for this card is that the navy blue (outdoor denim) cardstock is torn into two pieces before it's attached. And you'll see that it covers up the chevron paper, which is cut a bit shy of full size.
Tie the floss around the background piece before adhering. Use pop dots to attach the cloud for dimension. Other than that it's very easy to look at this photo and assemble this card.
Adhere the two outside flowered pieces first. There will be overlap.
Adhere the dotted strip to the outdoor denim cardstock.
Trim the zipper lace and attach above the sentiment.
Adhere the buttons next.
Tie both pieces of floss at once & create a bow. If it's too tedious to make a bow a knot looks great too.
Add the cupcake.
Adhere the whole middle section to the card.
AND ... Here are the scrapbook layouts.
Any questions while you're making these?? Contact me at 651-484-4613.
Here are the photos of the kits from the past.
Here are the photos of the January Mission Possible Kit. Scroll down to see the cards.


You do such BEAUTIFUL work! If my cards turn out half as good as yours I am happy! You have inspired me! Thanks!
ReplyDeleteLove your scrapbook layouts!!
ReplyDelete